You bought, or want to buy a new Canvas Backdrop but it’s a pain to set up and take down, nor do you don’t like the space it takes on your studio flooring while shooting or finding storage in your already full space.
Your canvas now sits in its tube or is sitting in a wish list or shopping cart ready to click buy as SOON as hanging it makes sense (and hoping it doesn’t sell right out from underneath you, This happened to me over a year ago when I wanted to purchase a Willow Canvas but didn’t know how to hang it.
Features I knew I wanted:
✓ Out of the way while in use as well as while being stored
✓ Easily a one-man job to set up and take down during any session.
This guide will show you how I hang my Willow Canvas so you can have a compact way to hang and store your canvas too!
NOTE:
I do not have a proper tutorial on the “how to” of attaching the clamps to a dowel, or hooks in a ceiling.
That can be googled, I’m just showing you what I used and how I did it essentially by eyeballing it, making it up as I go, and praying it worked, which it does! So I’ll share!
I also chose to anchor my canvas to the ceiling because patching holes in a ceiling is easier for me than a hole in a wall.
You can buy different size leather strips for your canvas as well to meet your needs. I’d even double them up if needed, finding a way to attach 2 together.
Tools
(most, but not all items below are linked, click to see where I shopped)
- Electric Screwdriver Drill
- Screwdriver
- Pencil
- Hammer
- Large 10″ Leather Strap with ceiling hooks
- Drywall Ancor with Hooks (for drywall w/no stud, or extra hanging spots)
- Minimum 1″ Dowel (Mine is 7′ foot wide for my 6′ wide canvas)
- Wood Clamps
- Tape measure
- Stud finder
- Rubber Strips for extra grip on clamp I did not use this brand, I had leftover rubber strips from old curtain rod hardware I bought from Ikea. If you have purchased them, you probably know what I’m talking about.
Attaching Clamps to Dowel:
- First I drew a straight line with a pencil across my dowel so that when I drilled in my screws for the clamps, they would all be aligned properly (then erased the lines once done but you can sand them off too.
- I measured my clamps about 6″ from the edge on both ends to put my outer clamps, then the inner clamps are about equal distances apart.
- Drill in the tiny clamp screws first, then unscrew mid-way and attach the clamp. Then using a screwdriver (as not to drill in too tight or your clamp could break) attach your wooden clamp.
- Use a small piece of rubber strip (cut so it is hidden in the clamp) to go between the wood clamp and your canvas, so you can tighten it and have it hold better without tightening too tight – risking breaking your clamp. (I broke one, can you tell? and for the price, it’s not something you want to keep doing)
Decide Where to Hang Your Canvas
I wanted three spots to hang my canvas.
1. Up against a wall.
- Children don’t know that a canvas is NOT a wall and often rely on the canvas to catch them when they go crashing into them, only to bring the whole thing down.
So you’ll notice I have one spot up against the wall – used when I’m photographing children in the studio.
However, with my style of photography, I LOVE light and shadows, and the light tends to fall a bit flat in the back of my studio.
This brings me to my second place to hang my canvas.
2. Window Light
- I love natural contrast with light and shadows, so this spot puts my canvas right in my window light so I have more dramatic light and shadows on my subject
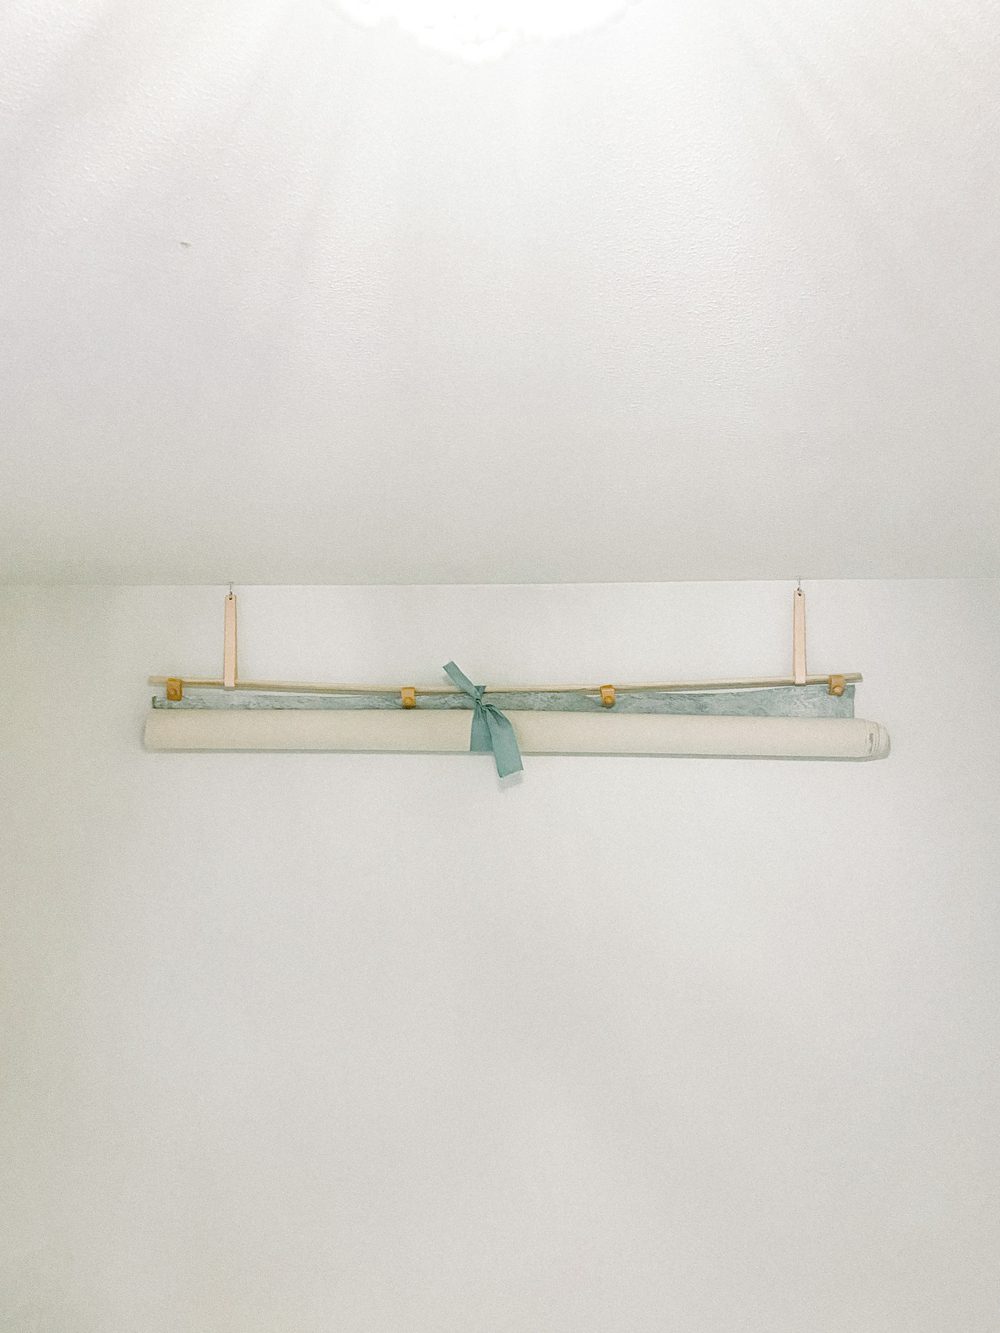
3. Storage
- Now a place to keep my canvas out of the way while not in use. This is not using any of my other storage spaces, totally out of the way, but in sight and arms reach for when I’m ready to unhook-rehook-untie and use.SUPER SIMPLE!
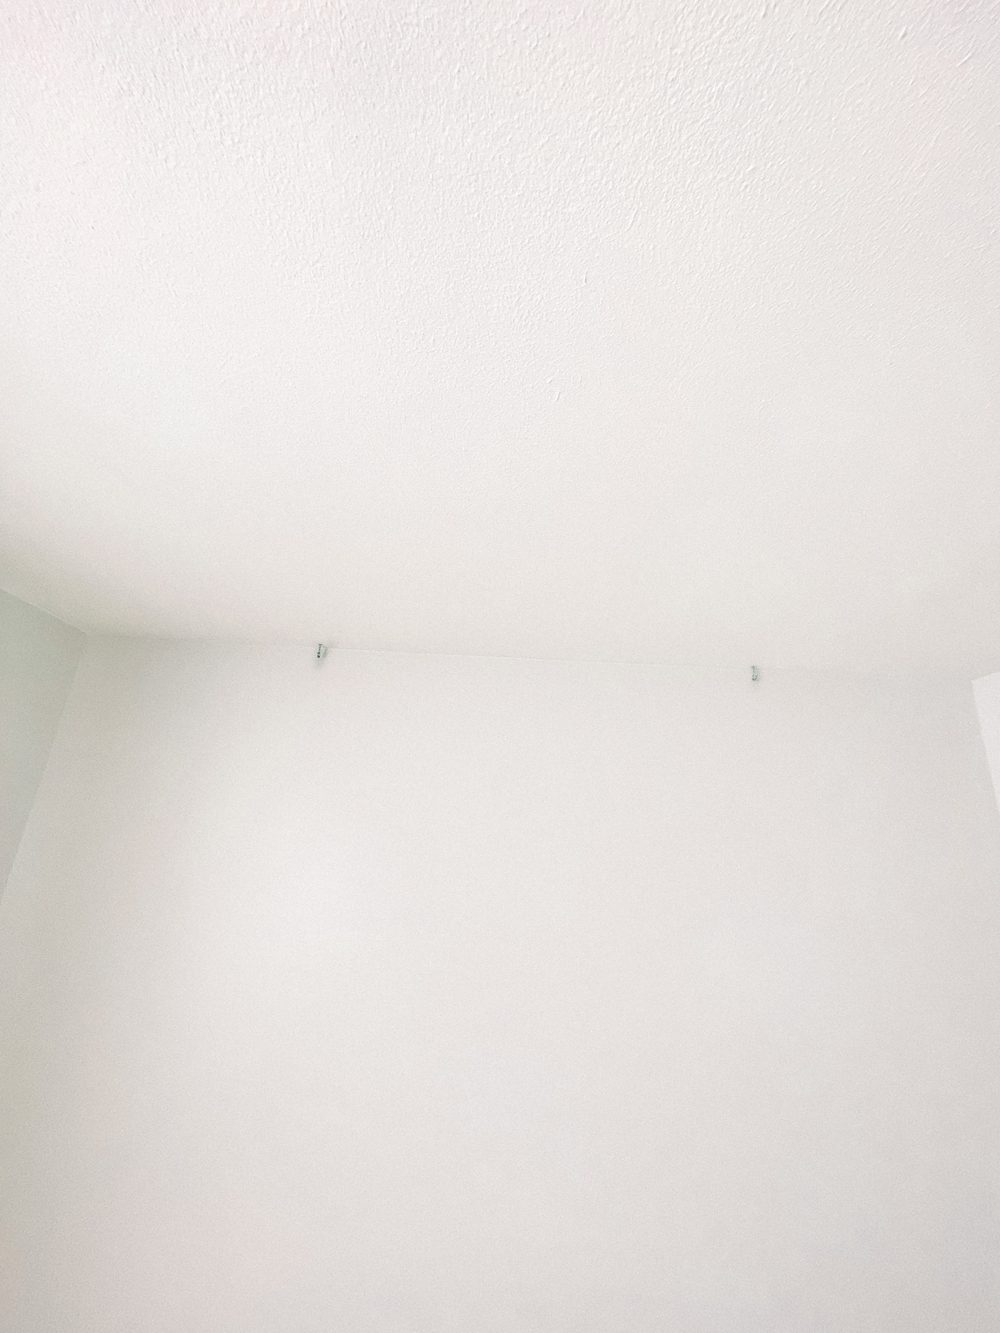
Ceiling hooks on the back wall – using wall anchors since there is no “stud” running in this direction across the ceiling.
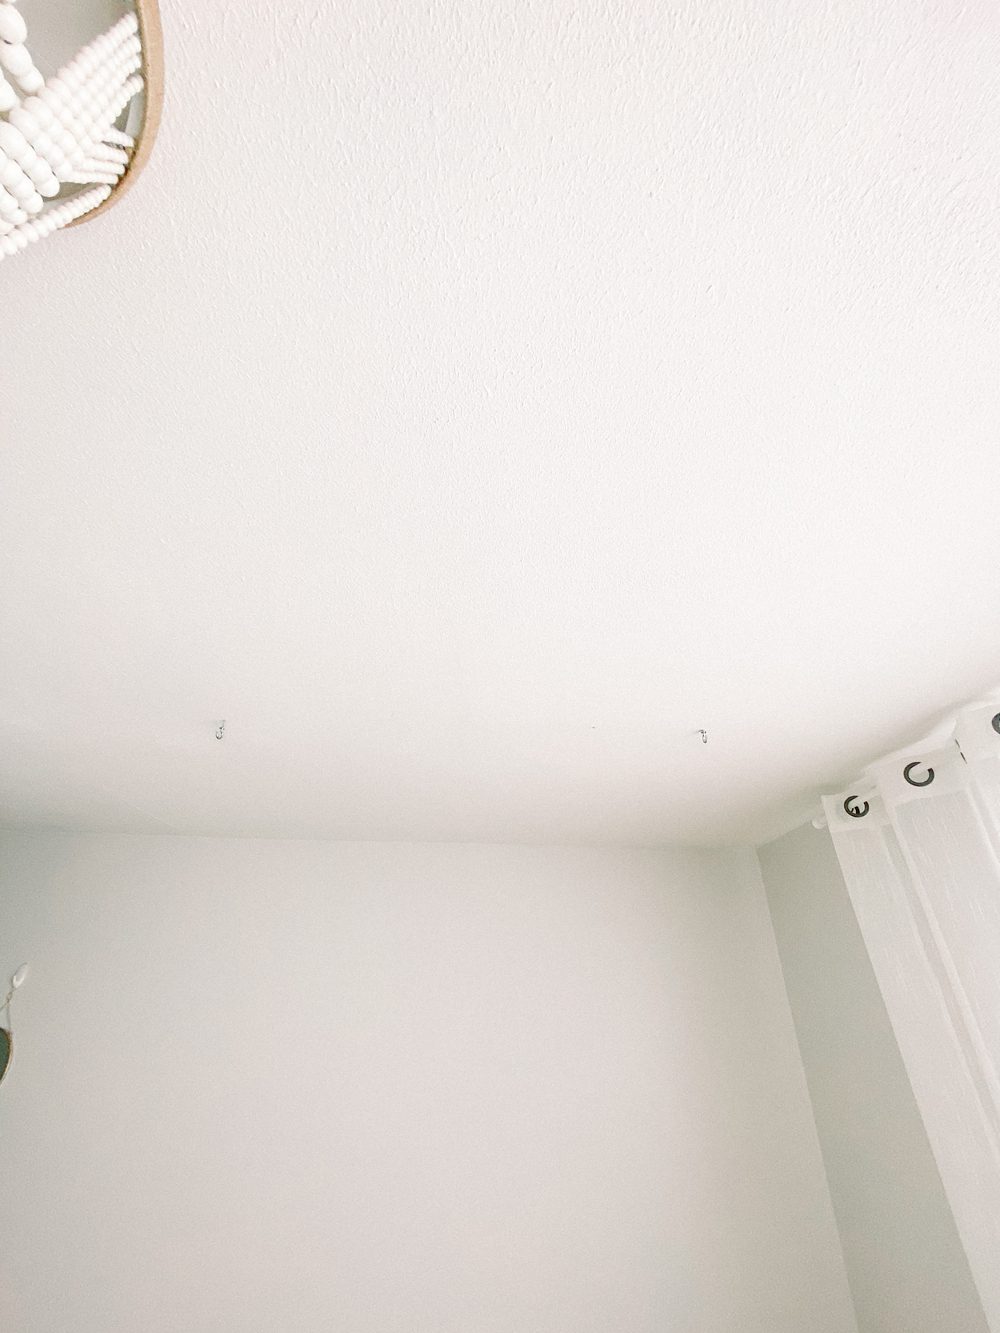
Direct Window Side Light hooks.
 Storage up against the wall across from the window.
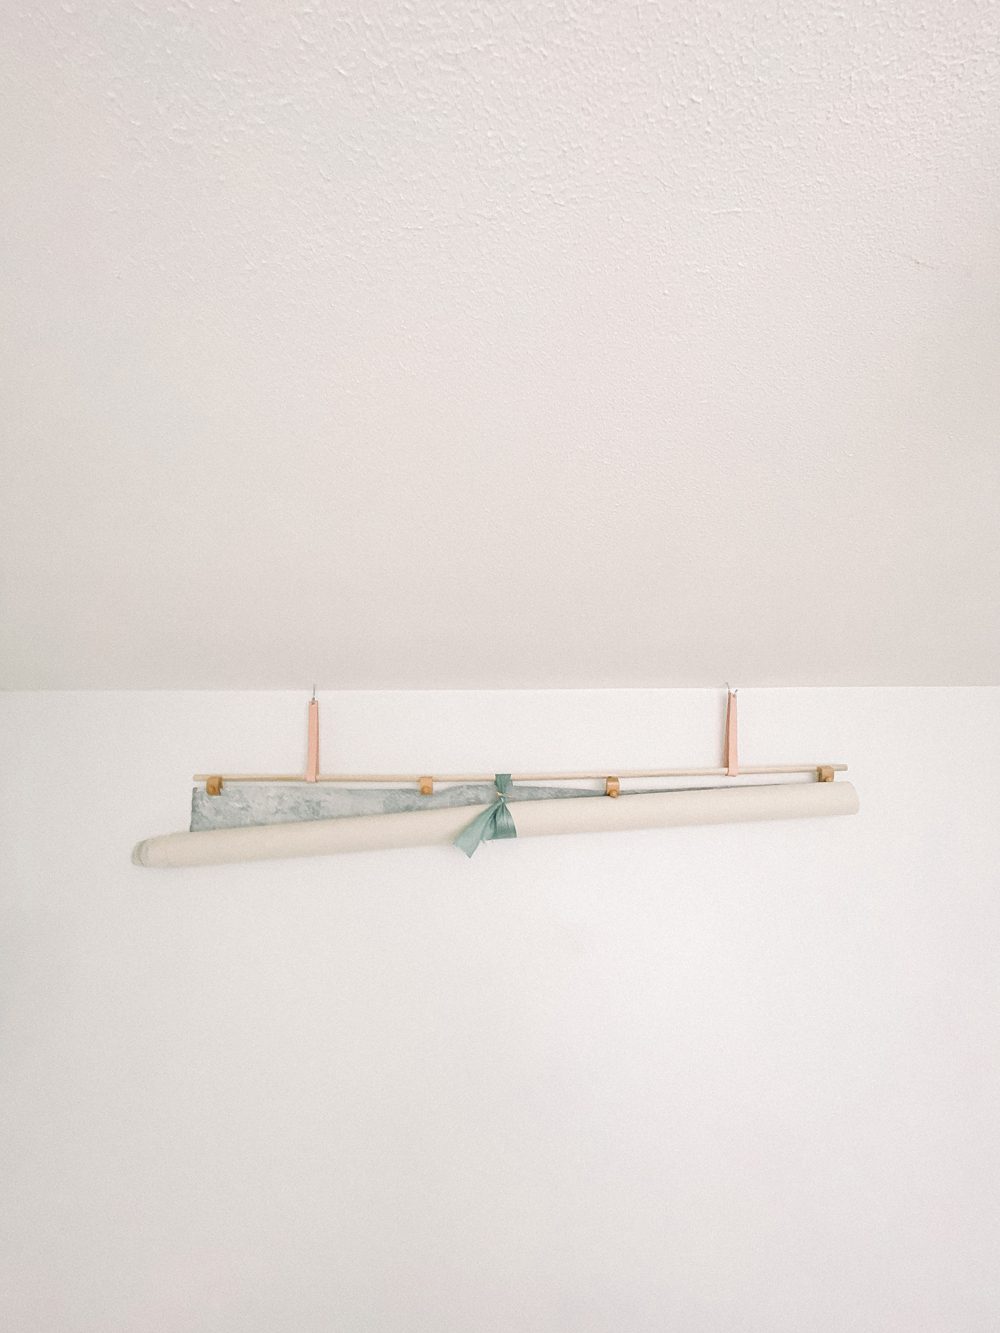
All three hook locations with canvas hooked in the storage location.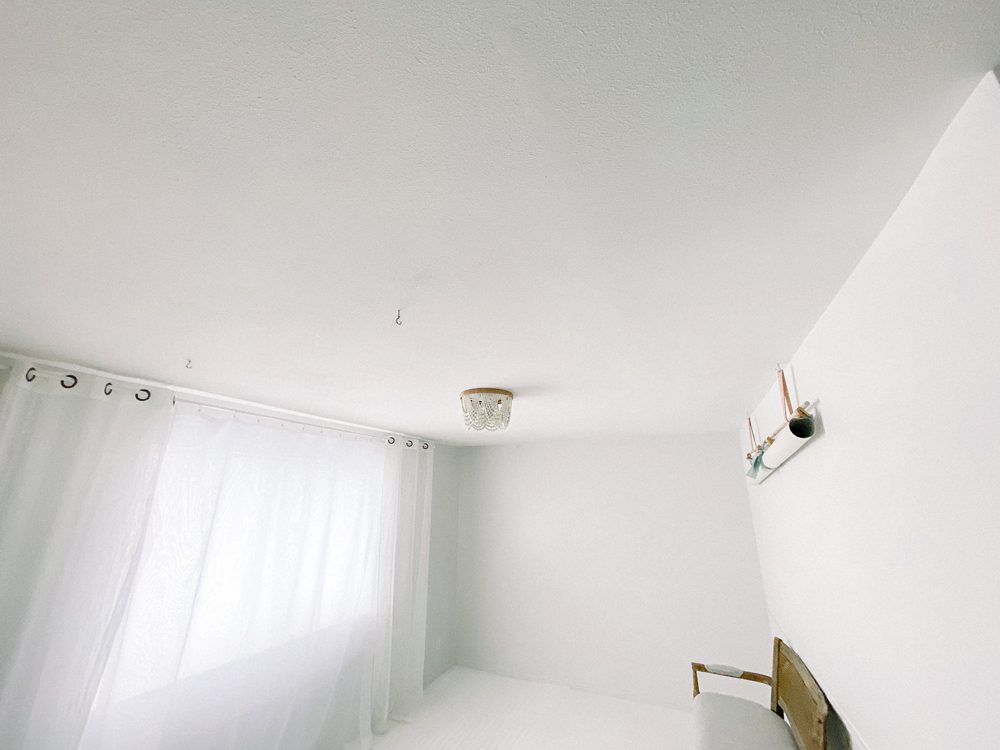
Just roll it up, clamp or tie and you’re done!
Have questions? Feel free to email me at juliesheriffphotography.com and I will reply and/or update my blog post with answers.


